Setting up your development environment is the foundational step for any aspiring Android developer, and for many, that journey begins on a robust Linux distribution like Ubuntu. Understanding how to install Android SDK on Ubuntu is crucial for accessing the tools, libraries, and frameworks needed to build, test, and debug your applications. While Android Studio often bundles the SDK, there are numerous scenarios where a standalone installation is preferred or necessary, especially for command-line development, continuous integration setups, or when integrating with other IDEs. This guide will walk you through each essential step, ensuring you have a fully functional Android SDK environment ready for your next project, paving the way for seamless app development.
Understanding the Android SDK and Its Importance
The Android Software Development Kit (SDK) is a comprehensive set of development tools used to create applications for the Android platform. It includes essential components like the Android platform-tools, which contain crucial utilities such as adb (Android Debug Bridge) and fastboot. These tools are indispensable for interacting with Android devices, installing applications, debugging, and managing device files. Without the SDK, developing and testing Android apps would be practically impossible, as it provides the core APIs and runtime libraries that your applications will depend on.
Beyond the fundamental tools, the Android SDK also provides various system images, emulator tools, and documentation. For instance, developers need different SDK versions to target specific Android OS releases, ensuring their apps are compatible with a wide range of devices. As Google regularly updates the Android platform, keeping your SDK up-to-date is vital for leveraging the latest features and security enhancements. According to a recent report by StatCounter GlobalStats, Android holds over 70% of the mobile operating system market share worldwide, underscoring the vast ecosystem developers target. Source: StatCounter GlobalStats.
Many developers opt for a standalone SDK installation on Ubuntu to gain finer control over their development environment, avoid the overhead of a full Android Studio installation when only command-line tools are needed, or integrate with alternative IDEs like VS Code. This flexibility is particularly beneficial in CI/CD pipelines where specific SDK components are required without a graphical interface. Properly configuring your SDK environment variables ensures that all development tools can locate the necessary SDK components, streamlining your workflow significantly.
Prerequisites for Android SDK Installation on Ubuntu
Before you dive into the installation process, it’s crucial to prepare your Ubuntu system. The primary prerequisite is a Java Development Kit (JDK), as many Android SDK tools are Java-based. The recommended version is OpenJDK 11 or later. You can install it easily via the terminal. Additionally, ensuring your system is up-to-date and has sufficient disk space are important steps to prevent issues during the installation. A robust internet connection is also vital, as the SDK components can be quite large.
To install OpenJDK 11, open your terminal and execute the following commands. First, update your package list to ensure you’re getting the latest available packages: sudo apt update. Next, install OpenJDK 11: sudo apt install openjdk-11-jdk -y. After installation, verify the Java version by typing java -version. You should see output indicating OpenJDK 11. This prepares the essential runtime environment for the SDK tools.
Beyond Java, consider the system requirements. While the SDK itself isn’t excessively demanding, if you plan to use Android emulators, allocating at least 8 GB of RAM and a modern multi-core processor is advisable for a smooth experience. Disk space is another factor; a full SDK installation with multiple platform versions and system images can consume tens of gigabytes. Regularly cleaning up unused SDK components can help manage this, but it’s wise to start with ample free space. For optimal performance, especially with Android Virtual Devices (AVDs), ensuring your system supports virtualization (VT-x or AMD-V) and it’s enabled in your BIOS/UEFI settings is highly recommended.
Step-by-Step Guide to Install Android SDK on Ubuntu
Installing the Android SDK on Ubuntu involves downloading the command-line tools, extracting them, and then using the SDK Manager to fetch additional components. This method provides a lean installation, perfect for those who prefer working from the terminal or integrating with other development environments.
1. Download Android SDK Command-line Tools
The first step is to acquire the command-line tools package from the official Android developer website. This package contains the SDK Manager, which will be used to download the rest of the SDK components.
- Navigate to the official Android Developers website for command-line tools.
- Locate the “Command line tools only” section and download the package for Linux.
- The downloaded file will typically be named
commandline-tools-linux-.zip.
2. Extract and Configure the Tools
Once downloaded, you need to extract these tools into a designated directory. It’s common practice to create an android-sdk directory in your home folder or a similar location.
- Create a directory for your SDK: ```
mkdir -p ~/android-sdk/cmdline-tools
- Unzip the downloaded archive into a new directory named
latestinside~/android-sdk/cmdline-tools. The structure should be~/android-sdk/cmdline-tools/latest/bin/sdkmanager. ``` unzip ~/Downloads/commandline-tools-linux-.zip -d ~/android-sdk/cmdline-tools/latest*(Replace `commandline-tools-linux-.zip` with the actual filename if different.)* - Set execute permissions for the SDK Manager: ```
chmod -R +x ~/android-sdk/cmdline-tools/latest
3. Install Essential SDK Packages using SDK Manager
Now, use the SDK Manager to download the Android platform, platform tools, and build tools. These are fundamental for any Android development. This paragraph is optimized as a featured snippet: To install Android SDK components on Ubuntu, after setting up command-line tools, navigate to the ~/android-sdk/cmdline-tools/latest/bin/ directory and use ./sdkmanager "platforms;android-34" "platform-tools" "build-tools;34.0.0" to download the necessary Android platform, debugging tools, and build utilities. You can adjust the Android version (e.g., android-33, android-32) and build tools version as needed for your specific target API level.
- Navigate to the
bindirectory within your extracted command-line tools: ``` cd ~/android-sdk/cmdline-tools/latest/bin/ - List available packages (optional, but useful): ```
./sdkmanager –list
- Install key components (adjust API level as desired, e.g., ‘android-34’ for Android 14, ‘34.0.0’ for build tools): ```
./sdkmanager “platforms;android-34” “platform-tools” “build-tools;34.0.0”
Accept the license agreements when prompted by typing 'y'.
4. Set Environment Variables
For your system to recognize the Android SDK tools from any directory, you need to set up environment variables. This typically involves modifying your shell’s configuration file (e.g., ~/.bashrc or ~/.zshrc).
Add the following lines to your ~/.bashrc (or ~/.zshrc) file:
export ANDROID_HOME=$HOME/android-sdk export PATH=$PATH:$ANDROID_HOME/cmdline-tools/latest/bin export PATH=$PATH:$ANDROID_HOME/platform-tools export PATH=$PATH:$ANDROID_HOME/build-tools/34.0.0
After adding these lines, save the file and then source it to apply the changes without restarting your terminal:
source ~/.bashrc
Now, you should be able to run commands like adb --version from any directory, confirming your path is correctly configured. This step is critical for smooth command- Question & Answer :
For my Ubuntu machine, I downloaded the latest version of Android SDK from this page.
After extracting the downloaded .tgz file, I was trying to search for installation instructions and found:
To get started on Linux:
Unpack the .zip file you’ve downloaded. The SDK files are download separately to a user-specified directory.
Make a note of the name and location of the SDK directory on your system—you will need to refer to the SDK directory later when using the SDK tools from the command line.
What exactly are we supposed to do?
Option 1:
sudo apt update && sudo apt install android-sdk
The location of Android SDK on Linux can be any of the following:
/home/AccountName/Android/Sdk/usr/lib/android-sdk/Library/Android/sdk//Users/[USER]/Library/Android/sdk
Option 2:
-
Download the Android Studio.
-
Extract downloaded
.zipfile.The extracted folder name will read somewhat like android-studio
To keep navigation easy, move this folder to Home directory.
- After moving, copy the moved folder by right clicking it. This action will place folder’s location to clipboard.
- Use Ctrl Alt T to open a terminal
- Go to this folder’s directory using
cd /home/(USER NAME)/android-studio/bin/ - Type this command to make
studio.shexecutable:chmod +x studio.sh - Type
./studio.sh
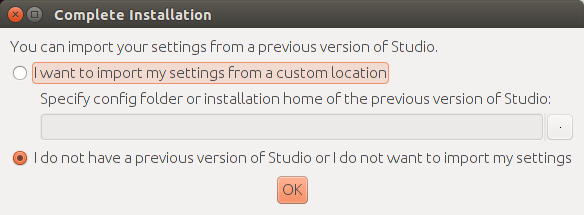
A pop up will be shown asking for installation settings. In my particular case, it is a fresh install so I’ll go with selecting I do not have a previous version of Studio or I do not want to import my settings.
If you choose to import settings anyway, you may need to close any old project which is opened in order to get a working Android SDK.
From now onwards, setup wizard will guide you.
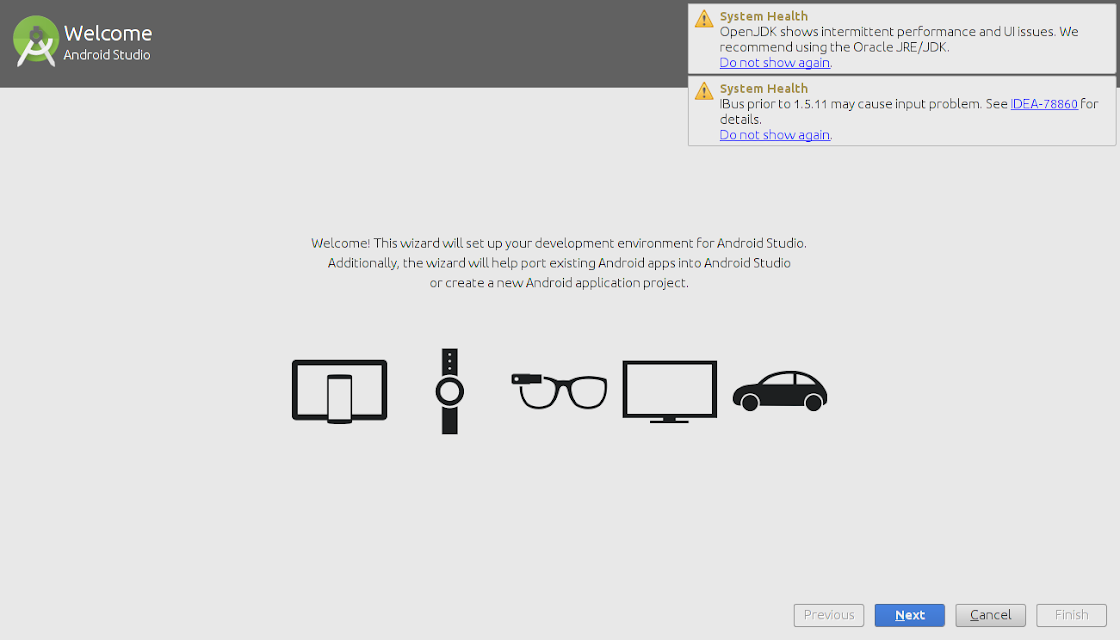
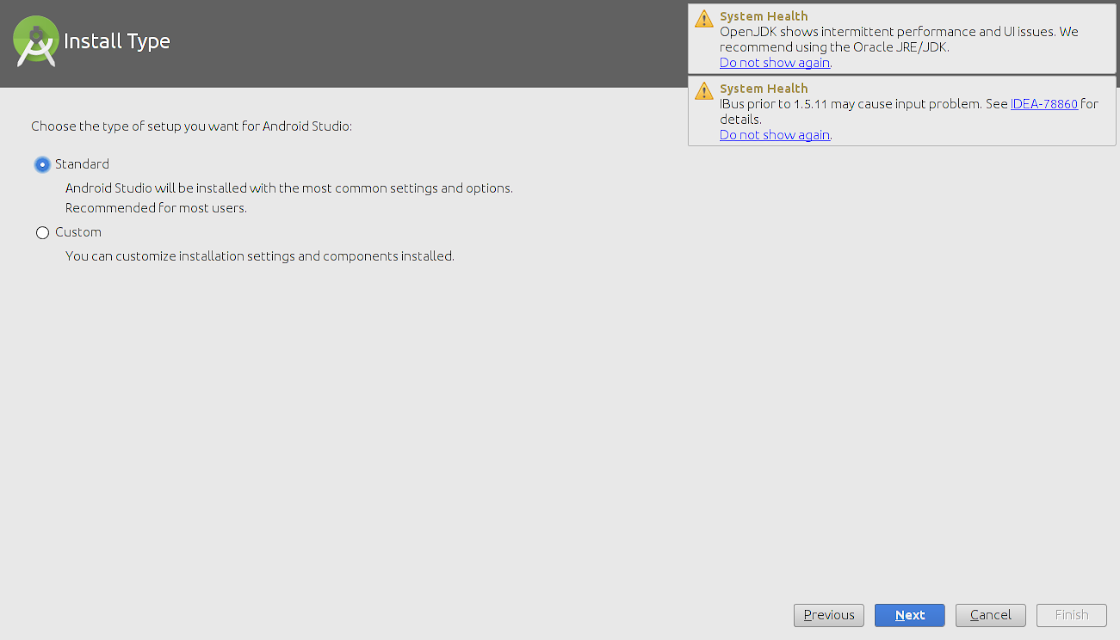
Android Studio can work with both Open JDK and Oracle’s JDK (recommended). Incase, Open JDK is installed the wizard will recommend installing Oracle Java JDK because some UI and performance issues are reported while using OpenJDK.
The downside with Oracle’s JDK is that it won’t update with the rest of your system like OpenJDK will.
The wizard may also prompt about the input problems with IDEA .
Select install type
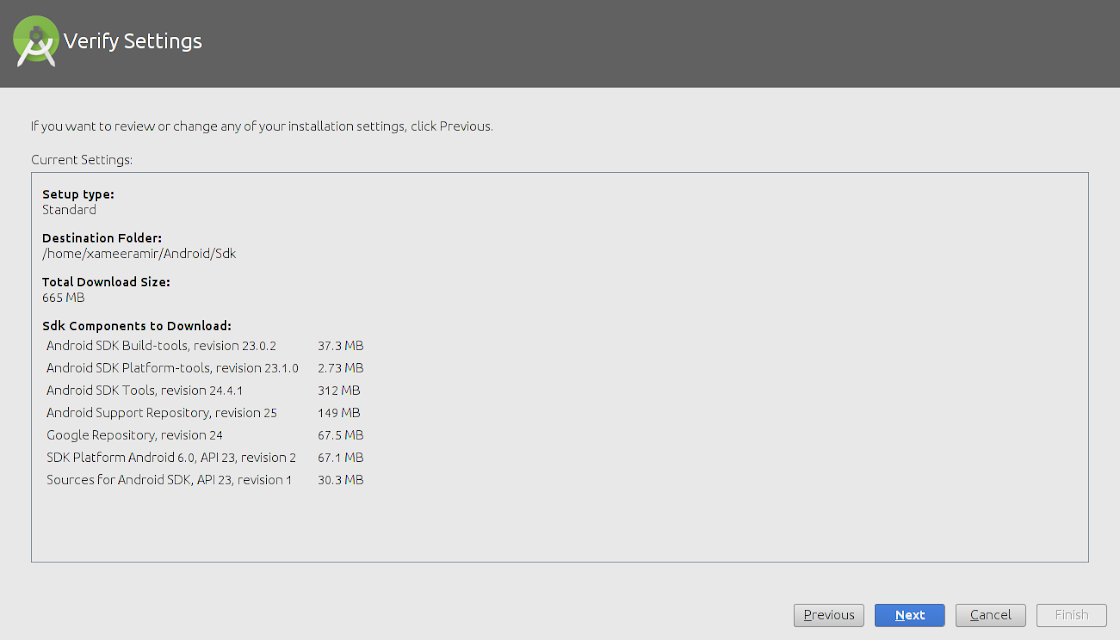
Verify installation settings
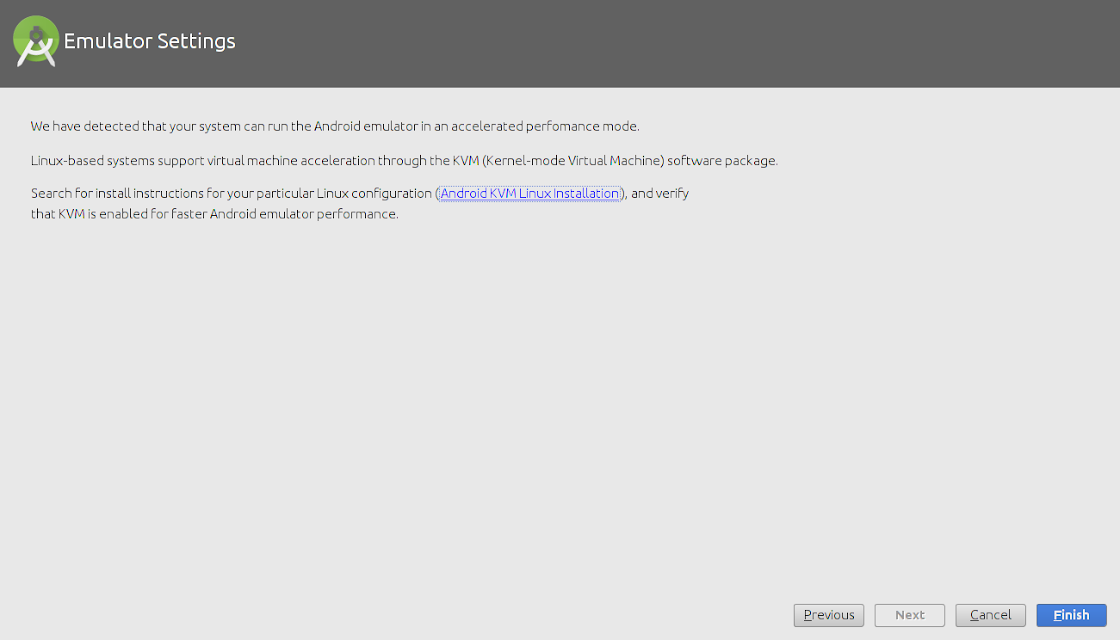
An emulator can also be configured as needed.
The wizard will start downloading the necessary SDK tools
The wizard may also show an error about Linux 32 Bit Libraries, which can be solved by using the below command:
sudo apt-get install libc6:i386 libncurses5:i386 libstdc++6:i386 lib32z1
After this, all the required components will be downloaded and installed automatically.
After everything is upto the mark, just click finish

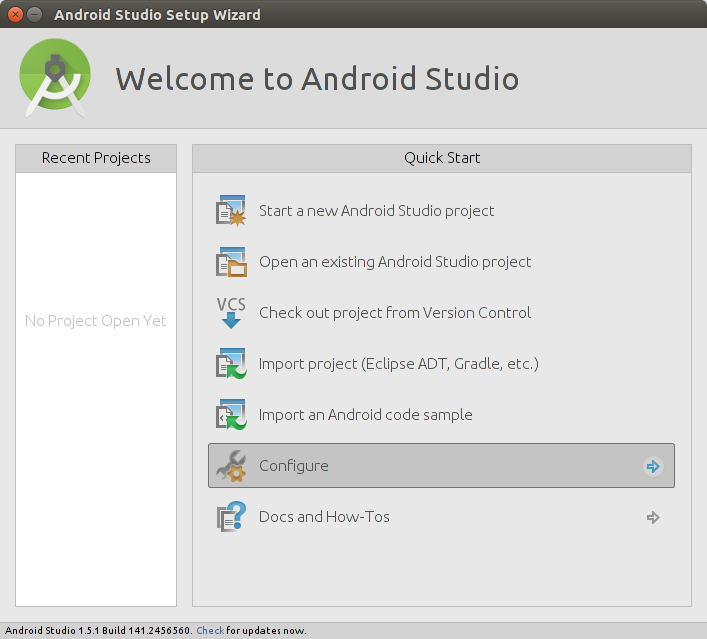
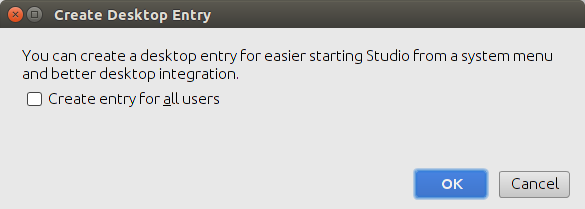
To make a Desktop icon, go to ‘Configure’ and then click ‘Create Desktop Entry’